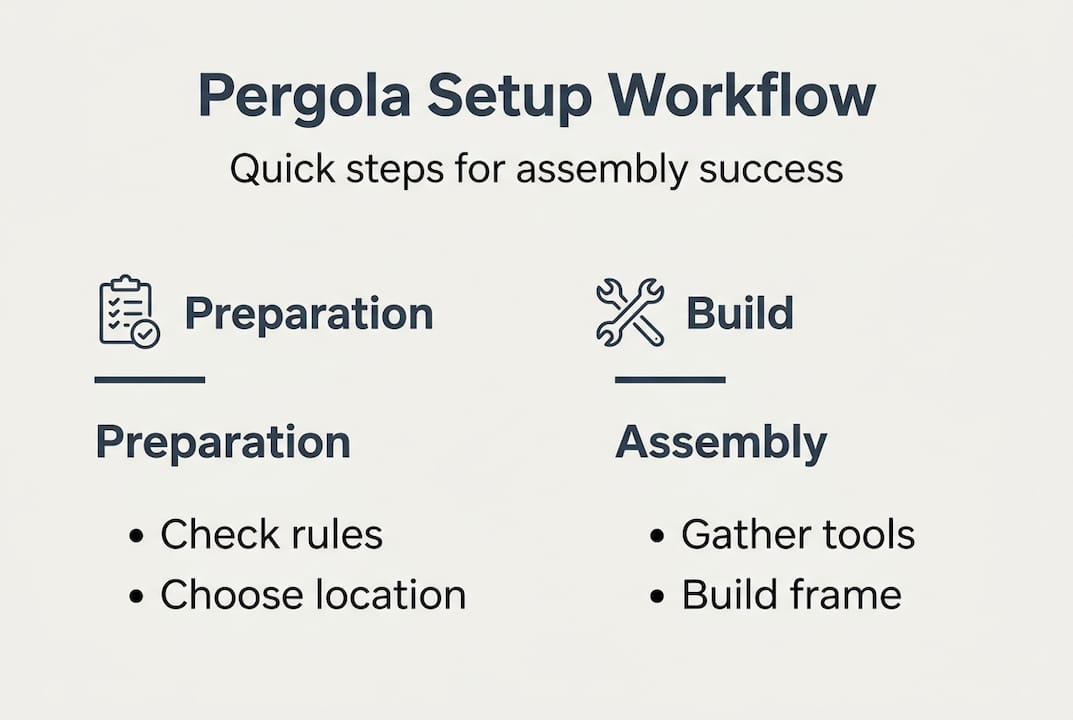
Pergola setup workflow: step-by-step guide for 2026
- Andrew Crookes
- Apr 7
- 9 min read
TL;DR:
Proper planning, site assessment, and material selection are essential for a durable pergola.
Following a step-by-step assembly process ensures safety and structural stability.
Regular maintenance and correct finishing prolong the pergola’s lifespan in the UK climate.
Pergola projects have a habit of unravelling before the first post is even in the ground. Whether it’s a surprise planning requirement, a poorly chosen site, or a structural wobble that only appears after the rafters are up, the mistakes tend to cluster around the same avoidable gaps in preparation. If you’re a homeowner or business owner in Yorkshire, Derbyshire, Nottinghamshire, or Lincolnshire looking to add a pergola to your outdoor space, this guide walks you through every stage of the workflow, from legal checks to long-term maintenance, so the result is something you’re genuinely proud of rather than something you’re quietly embarrassed about.
Table of Contents
Key Takeaways
Point | Details |
Verify permissions early | Check UK planning rules and your local regulations at the outset to avoid costly errors. |
Prepare tools and location | Gather correct tools and materials and ensure your site is stable and compliant before building. |
Follow proven workflow | Step-by-step assembly and regular checks help create a pergola that’s safe and durable. |
Maintain for longevity | Annual inspections and weatherproofing keep your pergola looking great year after year. |
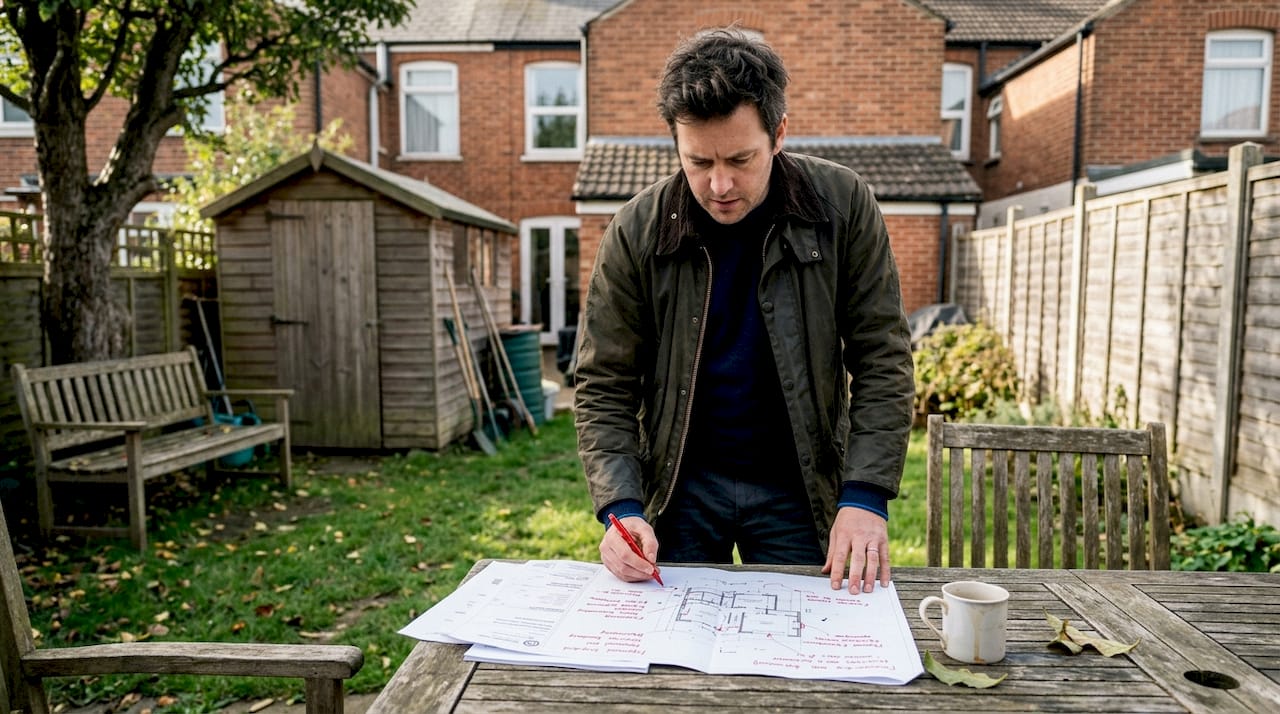
Checking permissions and choosing the right location
Before you buy a single plank of timber, the first task is understanding whether your pergola requires planning permission. The good news is that most domestic pergolas fall under permitted development rights, but there are firm limits. According to planning permission for pergolas, the UK height limits are clear: structures within 2 metres of a boundary must not exceed 2.5 metres, while those positioned further away can reach 3 metres or more. Your pergola must also cover less than 50% of the total garden area to remain within permitted development.
These rules apply across England, so whether you’re in Sheffield, Chesterfield, Nottingham, or Lincoln, the baseline is the same. That said, local councils can apply additional restrictions, particularly in conservation areas, Areas of Outstanding Natural Beauty, or on listed properties. Always verify with your local authority before breaking ground.
Key factors to assess when choosing your location:
Light direction: Track how sunlight moves across your garden throughout the day. A south or south-west facing position typically offers the best usable hours.
Access: Consider how the pergola will connect to your home or commercial premises. A direct route from a door or patio makes it genuinely functional.
Privacy: Natural screening from fences, hedges, or planting can reduce overlooking from neighbours.
Proximity to utilities: Check for underground cables, pipes, or drainage runs before digging footings.
Ground stability: Avoid areas prone to waterlogging or soft ground that could shift under load.
Factor | Requirement | Notes |
Height within 2m of boundary | Max 2.5m | Applies to eaves height |
Height beyond 2m from boundary | Max 3m+ | Check local variations |
Garden coverage | Less than 50% | Includes all outbuildings |
Recommended base | Patio, concrete, or prepared ground | Level and stable |
Conservation areas | Full planning likely needed | Always check locally |
Pro Tip: Most local councils in Yorkshire, Derbyshire, Nottinghamshire, and Lincolnshire publish their planning guidance online. Search your council name alongside “permitted development outbuildings” to find the relevant portal quickly.
For a broader overview of structure types and what suits different garden layouts, pergolas explained is a useful starting point. If you want a structured approach to evaluating your specific requirements, the pergola features checklist covers the key decision points in detail.
Gathering the right tools and materials
Having secured permissions and identified the right spot, it’s time to gather everything required for an efficient, stress-free build. Skimping on materials or improvising with the wrong tools is one of the most common reasons pergola projects stall halfway through or produce a result that looks tired within a couple of seasons.
For a standard timber pergola in a UK garden, you’ll need a core set of tools and a carefully chosen selection of materials. The stable base requirement is critical from a structural standpoint: your posts need to sit on level, solid ground, whether that’s an existing patio, a freshly poured concrete pad, or compacted hardcore with a mortar bed.
Tool or material | Purpose | Notes |
Post hole digger or auger | Creating footings | Hire locally to save cost |
Spirit level (1.2m+) | Checking plumb and level | Essential at every stage |
Pressure-treated timber | Posts, beams, rafters | Use C24 graded minimum |
Stainless steel fixings | Bolts, screws, joist hangers | Prevents rust in UK climate |
Concrete mix | Setting posts or base | Rapid-set saves time |
Wood preservative | Timber treatment | Reapply every 2-3 years |
Drill and impact driver | Assembly | Cordless preferred |
Tape measure and string line | Layout accuracy | Critical for square corners |
Checklist for UK-specific considerations:
Use stainless steel or hot-dip galvanised fixings only. Standard zinc-plated screws corrode rapidly in exposed UK conditions.
Choose pressure-treated softwood rated UC3 or above for above-ground outdoor use.
If using hardwood such as oak, ensure it is sourced from an FSC-certified supplier.
Apply an end-grain preservative to any cut timber surfaces before assembly.
For composite or aluminium options, check manufacturer specifications for UK frost resistance.
Pro Tip: Many tool hire companies in Yorkshire and the surrounding counties offer weekend rates on post hole augers, concrete mixers, and scaffolding towers. Hiring rather than buying specialist tools keeps costs down and ensures you’re working with equipment that’s properly maintained.
If you’re considering a more advanced structure, retractable pergolas offer adjustable cover that suits the unpredictable British weather particularly well. The pergola material options section of our guide breaks down the pros and cons of timber, aluminium, and composite in more detail.
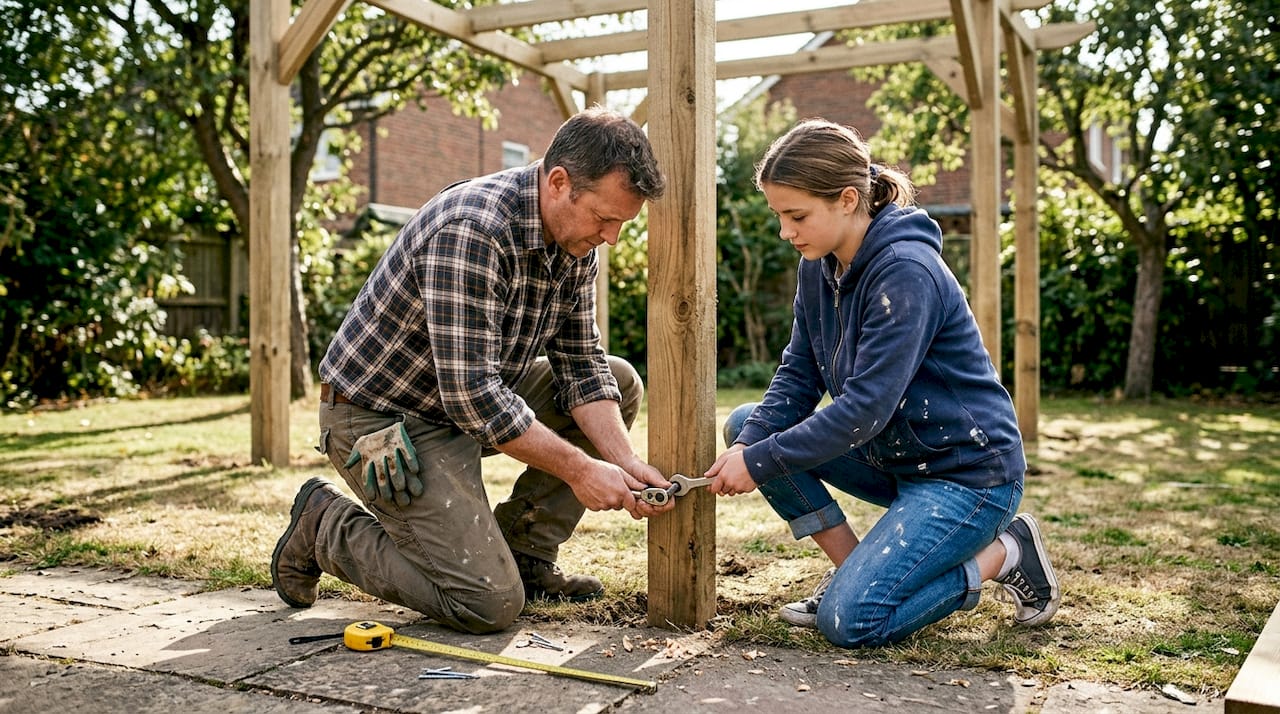
Step-by-step assembly process for a flawless finish
With materials ready, readers can now tackle the core assembly stage, following clear, safety-focused steps. Rushing this phase is where most DIY pergola projects go wrong. A methodical approach, checking your work at each stage, is what separates a structure that lasts a decade from one that needs correcting within a year.
The UK pergola safety advice from industry sources is consistent: site preparation and structural compliance are the foundation of a safe build, not an afterthought.
Assembly steps:
Mark out the footprint. Use string lines and stakes to mark the exact position of each post. Check diagonals are equal to confirm the layout is square before digging anything.
Dig and prepare footings. Post holes should be at least 600mm deep for a standard residential pergola. Fill with concrete and allow to cure fully, typically 24 to 48 hours.
Set and brace posts. Position posts vertically in the wet concrete, checking plumb on two faces with a spirit level. Use temporary bracing to hold them in position while the concrete sets.
Attach the bearer beams. Once posts are secure, fix the horizontal bearer beams at the top. Use coach bolts rather than screws for structural connections.
Install the rafters. Rafters span between the bearer beams and are typically spaced 400 to 600mm apart. Use joist hangers or notched joints for a clean, secure connection.
Add any cross-battens or shade elements. Decorative battens, louvres, or a retractable canopy can be fitted at this stage.
Final check for square and level. Before declaring the structure complete, re-check all dimensions and tighten any fixings that have shifted during assembly.
Safety note: Treated timber can carry preservative chemicals that irritate skin and eyes. Always wear gloves and eye protection when cutting or drilling treated wood. When lifting beams into position, use two people and consider a temporary prop or adjustable post support to avoid strain injuries.
Pro Tip: Check for square at every major stage, not just at the end. A small error in post positioning compounds through every subsequent layer. Catching it early takes minutes; correcting it after the beams are up takes hours.
For more context on how pergola assembly fits into a broader outdoor improvement project, the patio shading guide is particularly relevant for Yorkshire homeowners. And if you’re still deciding on the final aesthetic, pergola design ideas offers seven distinct directions to consider.
Troubleshooting, finishing touches, and maintenance
After successful assembly, pay attention to finishing, maintenance, and preventing future problems. A pergola that looks excellent on day one but deteriorates rapidly within two seasons is a false economy. The UK climate, with its combination of rain, frost, and occasional intense sunshine, is genuinely demanding on outdoor timber structures.
Understanding UK regulations around garden coverage standards also means that any significant modifications after the initial build may need reassessment, so it’s worth getting the finish right first time.
Common pergola pitfalls and how to avoid them:
Misalignment: Posts that aren’t perfectly plumb cause beams to sit unevenly. Prevention is far easier than correction. Check plumb before concrete sets.
Poor drainage: Flat or low-pitched surfaces collect water, which accelerates rot and staining. Ensure any cover elements have a slight fall to shed rain.
Fastener rust: Standard steel screws will rust visibly within one or two winters. Use stainless steel or galvanised fixings throughout, including hidden connections.
Inadequate timber treatment: Bare end grain absorbs moisture rapidly. Seal all cut ends with preservative immediately after cutting.
Wobbly structure: Often caused by under-sized footings or posts that weren’t braced while concrete cured. Diagonal bracing between posts and beams adds significant rigidity.
Material | Maintenance frequency | Key tasks |
Softwood timber | Every 1-2 years | Sand, clean, re-oil or re-stain |
Hardwood timber | Every 2-3 years | Clean, apply hardwood oil |
Aluminium | Every 3-5 years | Clean, check fixings |
Composite | Every 3-5 years | Wash down, inspect joints |
For finishing touches, consider oiling or painting the timber once the structure is fully assembled and dry. A quality exterior oil or microporous paint system will extend the life of softwood significantly. Adding a retractable canopy transforms a basic frame into a genuinely usable outdoor room, offering shade in summer and some shelter from light rain.
Pro Tip: Schedule an annual inspection every spring, before the outdoor season begins. Check for any movement in posts, signs of rot at ground level, and the integrity of every fastener. Catching a loose bolt early costs nothing. Replacing a rotted post costs considerably more.
For properties where weather protection is a priority, all-weather veranda options provide a more enclosed alternative worth exploring alongside a pergola.
Why a methodical approach saves time and money
After more than 15 years working with homeowners and businesses across Yorkshire and the surrounding counties, we’ve seen the same pattern repeat itself. Someone skips the planning check because they’re confident their pergola is small enough. Someone else sources cheaper fixings to trim the budget. A third cuts the footings shallow because the ground is hard. Each shortcut feels reasonable in isolation. Collectively, they produce a structure that fails, causes a dispute with a neighbour, or requires expensive remedial work.
The uncomfortable truth is that the workflow steps outlined in this guide aren’t bureaucratic box-ticking. They exist because outdoor structures in the UK face real stresses: ground movement from frost, sustained moisture, wind loading, and UV degradation. A pergola built correctly to a proper plan will outlast one built quickly by years, sometimes decades.
If you reach any stage of the process and feel uncertain, particularly at the planning stage or when assessing structural connections, consulting a professional is always the right call. The cost of an expert opinion is trivial compared to the cost of getting it wrong.
Design your perfect outdoor haven with expert support
Ready to bring your outdoor vision to life? Here’s how expert help makes a difference.
At Infinity Awnings, we’ve spent over 15 years helping homeowners and businesses across Yorkshire, Derbyshire, Nottinghamshire, and Lincolnshire create outdoor spaces that genuinely work. Whether you’re looking for a freestanding timber structure or a fully integrated shading system, we offer tailored advice from the first conversation through to installation and aftercare.

Our range of garden pergola options covers everything from classic open-frame designs to motorised louvre systems that adapt to changing weather. If you’d like to discuss your specific project, our pergola installation service page explains how we work and makes it straightforward to request a consultation or free quote. Let us help you get it right from the very first step.
Frequently asked questions
Do I need planning permission for a pergola in the UK?
Most domestic pergolas don’t require planning permission if they stay under 2.5m high within 2 metres of the boundary and cover less than 50% of the garden. Always verify with your local council if you’re in a conservation area or on a listed property.
How long does it take to set up a pergola?
Most installations take a full weekend with two people working steadily, but complex designs, extensive groundworks, or concrete curing time may extend the project to several days.
What’s the best base for a pergola in the UK?
A level, stable base such as an existing patio, a freshly poured concrete pad, or well-compacted prepared ground is essential for long-term structural stability and regulatory compliance.
What maintenance does a timber pergola require?
Annual inspections for movement and fastener integrity, combined with regular protective treatments every one to two years for softwood, will keep a timber pergola performing well through the UK’s variable climate.
Recommended